
Welcome to the Nikon D50 Owner’s Manual! This guide provides comprehensive instructions for understanding and utilizing your camera’s features, from basic controls to advanced settings. Designed for both beginners and enthusiasts, the manual covers key functions, shooting modes, and maintenance tips to enhance your photography experience. Explore the structure and content to master your Nikon D50 DSLR effectively.
1.1 Overview of the Nikon D50 DSLR Camera
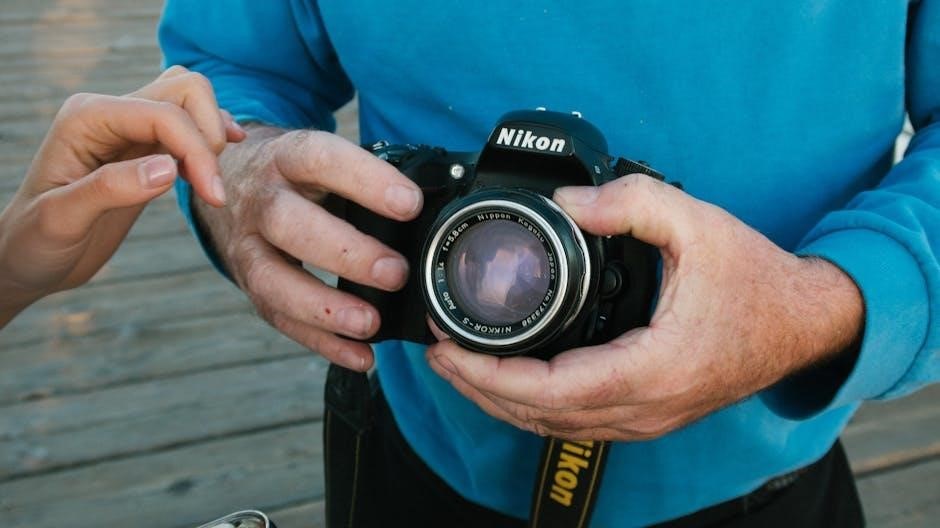
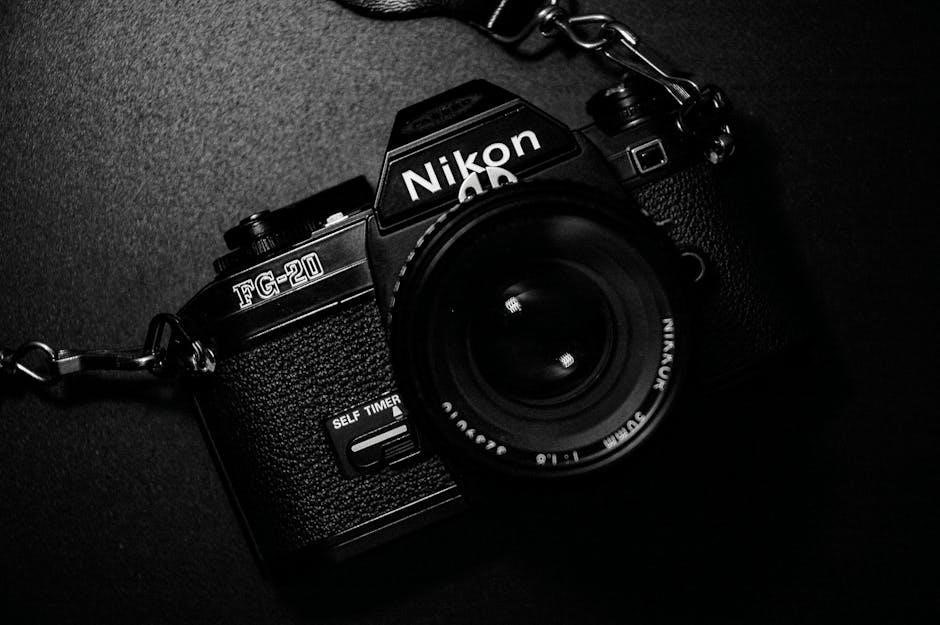
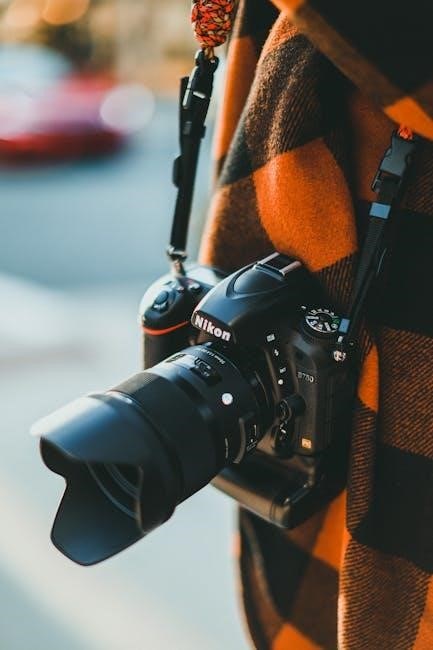
The Nikon D50 is a lightweight, compact DSLR camera featuring a 6.1 MP DX-format CCD sensor, delivering vibrant images with sharp details. It includes a 5-area autofocus system for precise subject capture and a 2.0-inch LCD monitor for easy image review. Designed for both amateurs and enthusiasts, it offers intuitive controls and versatile shooting options.
1.2 Importance of Reading the Manual
Reading the Nikon D50 manual is crucial to unlock its full potential. It provides detailed insights into camera functions, shooting modes, and customization options, helping you optimize image quality and explore advanced features effectively. Understanding the manual ensures you make the most of your DSLR experience.
1.3 Structure of the Manual
The Nikon D50 manual is organized into clear sections, ensuring easy navigation. It begins with an introduction, followed by unboxing and setup, key features, shooting modes, and menu navigation. Additional sections cover maintenance, troubleshooting, and advanced techniques, providing a comprehensive guide to mastering your DSLR camera effectively.
Unboxing and Initial Setup
The Nikon D50 box includes the camera body, battery, charger, memory card, lens, and strap. Follow the setup guide to charge, install the memory card, and attach the lens for immediate use.
2.1 What’s Included in the Box
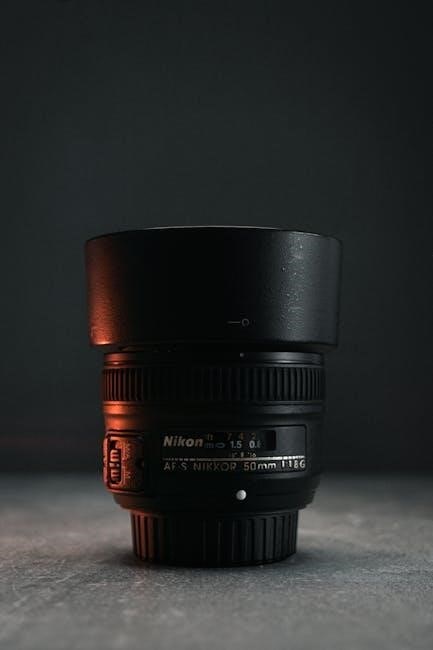
The Nikon D50 box contains the camera body, a rechargeable battery, battery charger, memory card, 18-55mm AF-S DX Zoom-Nikkor lens, camera strap, eyecup, and a user manual. Additional accessories like a USB cable and software CDs may also be included for enhanced functionality and connectivity.
2.2 Charging the Battery and Inserting the Memory Card
Charge the supplied battery using the Nikon charger until the indicator turns green. Insert the memory card into the slot on the camera’s bottom. Ensure the card is compatible and formatted for use. Avoid overcharging to maintain battery health. Properly securing the card ensures data storage for capturing high-quality images.
2.3 Attaching the Lens and Strap
Align the lens mount indexes with the camera’s. Twist the lens clockwise to secure it. Ensure it clicks into place. Attach the strap by threading it through the eyelets and adjusting the length for comfort. Tighten securely to prevent accidental detachment while shooting. This ensures safe handling and protects your equipment during use.

Key Features and Specifications
The Nikon D50 features a 6.1 MP DX-format CCD sensor, delivering vibrant images with sharp details. It includes a 5-area autofocus system for precise subject tracking and a 2.0-inch LCD monitor for clear previews and menu navigation, making it ideal for enthusiasts and professionals seeking quality and performance.
3.1 6.1 MP DX Format CCD Sensor
The Nikon D50 is equipped with a 6.1 MP DX-format CCD sensor, delivering vibrant images with sharp details. This sensor captures beautiful images with vivid colors and clear details, ensuring excellent performance in various lighting conditions. Its compact size and high sensitivity make it ideal for enthusiasts seeking quality and versatility in photography, producing stunning results consistently.
3.2 5-Area Autofocus System
The Nikon D50 features a 5-area autofocus system, offering enhanced precision and speed for capturing sharp images. This advanced system ensures quick subject acquisition and improved focus accuracy, making it ideal for dynamic photography. The multi-area AF mode allows for versatile focusing, catering to both amateur and enthusiast photographers seeking reliable performance in various shooting conditions.
3.3 2.0-Inch LCD Monitor
The Nikon D50 is equipped with a 2.0-inch LCD monitor, providing clear previews of images and intuitive access to menu settings. This compact yet functional display allows for easy review of photos, playback, and navigation through camera functions, ensuring a seamless and efficient shooting experience for photographers of all skill levels.
Quick Start Guide
Get started quickly with your Nikon D50! This guide covers unboxing, initial setup, and shooting your first photos. Learn basic controls, menu navigation, and essential settings to begin capturing stunning images right away.
4.1 Basic Camera Controls
The Nikon D50 features intuitive controls for easy operation. The mode dial allows quick access to shooting modes, while the shutter release button and aperture/exposure compensation buttons enable precise adjustments. Use the multi-selector for menu navigation and the ISO button to adjust sensitivity settings. Familiarize yourself with these controls to streamline your shooting process.
4.2 Setting the Date and Time
To set the date and time on your Nikon D50, navigate to the Setup Menu and select “Set Clock.” Choose the date format (YYYY/MM/DD, MM/DD/YYYY, or DD/MM/YYYY) and set the current date, time, and timezone. Accurate settings ensure proper file naming and EXIF data. Save your settings to complete the process.
4.3 Shooting Your First Photos
Mount the lens, set the camera to Auto Mode, and ensure the memory card is inserted. Frame your subject, press the shutter button halfway to focus, and fully press to capture. Review your photo on the LCD monitor. Use the Quick Start Guide for additional setup tips to ensure optimal results.
Shooting Modes
The Nikon D50 offers various shooting modes, including Auto, Scene, Semi-Automatic, and Manual, catering to different photography needs and skill levels for optimal creative control and versatility.
5.1 Auto Mode
In Auto Mode, the Nikon D50 automatically adjusts settings for optimal results, making it ideal for beginners or quick shots. The camera selects aperture, shutter speed, and ISO, ensuring well-balanced exposures with minimal user input, allowing you to focus on composition and capturing memorable moments effortlessly.
5.2 Scene Modes (Portrait, Landscape, etc.)
Scene Modes optimize camera settings for specific situations like Portrait, Landscape, Night Portrait, Sports, and Close-up. Each mode adjusts aperture, shutter speed, and ISO to enhance results. Portrait mode softens backgrounds, while Landscape mode ensures sharp details. These modes simplify shooting in various conditions, allowing you to capture stunning images with ease and precision.
5.3 Semi-Automatic Modes (Aperture Priority, Shutter Priority)
Aperture Priority (A/Av) lets you set the aperture, controlling depth of field, while the camera adjusts shutter speed. Shutter Priority (S/Tv) allows you to set shutter speed for freezing or blurring motion, with the camera adjusting aperture. These modes offer creative control, balancing manual adjustments with automatic features for versatile shooting scenarios.
5.4 Manual Mode
In Manual Mode, you have full control over both aperture and shutter speed, allowing for complete creative freedom. The camera does not adjust any settings automatically, so you can tailor your shots to your vision. Check the exposure level and adjust settings as needed for optimal results.

Menu Navigation
Navigate the Nikon D50’s menu system using the multi-selector and OK button. Access Playback, Shooting, and Setup menus to customize settings, review images, and optimize camera performance for your needs.
6.1 Understanding the Playback Menu
The Playback Menu allows you to review and manage your photos. Use it to delete unwanted images, protect favorites, and adjust playback settings. Customize options like slide shows and image rotation for enhanced viewing experiences. This menu is essential for organizing and reviewing your captured moments efficiently.
6.2 Customizing the Shooting Menu
Customize the Shooting Menu to tailor camera settings to your preferences. Adjust image quality, white balance, ISO sensitivity, and autofocus modes. Personalize settings for optimal results in various lighting conditions. This menu offers flexibility to enhance your photography experience by fine-tuning camera behavior according to your creative vision and shooting needs.
6.3 Navigating the Setup Menu
The Setup Menu allows you to configure camera settings like date/time, language, and firmware version. Use the multi-selector to navigate through options and confirm changes with the OK button. This menu is essential for personalizing camera preferences and ensuring optimal performance. Refer to the manual for detailed guidance on each setting.
ISO Sensitivity and Noise Reduction
Learn to adjust ISO settings (100-1600) for optimal image quality. Understand noise reduction options and techniques to minimize grain in low-light conditions while preserving detail effectively.
7.1 Adjusting ISO Settings
Adjust ISO sensitivity (100-1600) to optimize image quality in various lighting conditions. Press the ISO button near the LCD screen, then use the command dial to select your desired setting. Higher ISOs enhance low-light performance but may introduce noise. Experiment to find the right balance for sharp, detail-rich photos in any situation.
7.2 Understanding ISO Ranges and Noise
ISO ranges on the Nikon D50 (100-1600) affect image quality. Lower ISOs (100-400) deliver sharp images with minimal noise, ideal for bright lighting. Higher ISOs (800-1600) increase sensitivity, introducing grain but allowing photography in low-light conditions. Balancing ISO settings ensures optimal results, preserving detail while minimizing unwanted noise for professional-grade photos every time.
7.3 Using High ISOs Effectively
Use high ISOs (800-1600) sparingly in low-light conditions to capture sharp images. While grain may appear, the D50 handles noise well. For best results, use high ISOs only when necessary and pair with fast lenses or image stabilization to maintain clarity and detail in your photographs.
White Balance and Color Settings
Adjust white balance for accurate color reproduction. Choose from preset options like Auto, Daylight, and Fluorescent, or set custom white balance for precise control over tones and hues.
8.1 Understanding White Balance
White balance adjusts color tones to match lighting conditions, ensuring accurate hues. It compensates for color casts, like yellowish indoor light, delivering natural-looking images. Preset modes (e.g., Auto, Daylight, Fluorescent) simplify adjustments, while custom settings offer precise control for specific lighting scenarios, enhancing overall image quality and visual authenticity in various environments.
8.2 Preset White Balance Options
The Nikon D50 offers preset white balance options to suit various lighting conditions. Choose from modes like Auto, Daylight, Shade, Fluorescent, Incandescent, and Cloudy to automatically adjust colors. These presets enhance image accuracy by compensating for color casts, ensuring natural tones and consistent results in different environments without manual adjustments.
8.3 Custom White Balance
The Nikon D50 allows you to set a custom white balance by selecting a white object in your scene. Use the white balance button and follow on-screen instructions to capture the reference. This ensures accurate color rendition tailored to specific lighting conditions, enhancing image quality and consistency.

Autofocus and Metering
The Nikon D50 features a 5-area autofocus system for precise subject tracking and various metering modes, including 3D Color Matrix Metering II, to ensure accurate exposure and sharp images.
9.1 Autofocus Modes
The Nikon D50 offers three autofocus modes: Single Servo AF for stationary subjects, Continuous Servo AF for moving subjects, and Manual Focus for precise control. These modes ensure versatility, allowing photographers to capture sharp images in various shooting conditions. Proper mode selection enhances focus accuracy and overall photography efficiency, as detailed in the manual.
9.2 Autofocus Area Modes
The Nikon D50 features Autofocus Area Modes, including Single Area AF, Dynamic Area AF, and Closest Subject Priority. These modes allow precise control over focus acquisition, ensuring sharp images. Single Area AF focuses on a selected point, while Dynamic Area AF tracks moving subjects across multiple points. This system enhances flexibility in various shooting situations, improving overall autofocus performance effectively.
9.3 Metering Modes
The Nikon D50 offers 3D Color Matrix Metering II, Center-Weighted Metering, and Spot Metering. These modes help achieve accurate exposure by analyzing light distribution. Matrix Metering is ideal for balanced results, while Center-Weighted prioritizes the central area. Spot Metering measures a small section for precise control, ensuring optimal exposure in various lighting conditions and composing shots effectively.

Memory Cards and Storage
The Nikon D50 supports SD and SDHC memory cards, ensuring reliable storage for your images. Always format cards in-camera and manage storage capacity effectively for optimal performance.
10.1 Supported Memory Card Types
The Nikon D50 is compatible with SD (Secure Digital) and SDHC (Secure Digital High Capacity) memory cards. These cards ensure reliable storage for your images, with SDHC offering higher capacity options to meet your photography needs. Always use genuine Nikon-recommended cards for optimal performance and data integrity.
10.2 Formatting Memory Cards
Formatting a memory card in your Nikon D50 ensures optimal performance and compatibility. Use the FORMAT CARD option in the setup menu to erase all data on the card. Always format the card in the camera rather than on a computer to maintain proper camera functionality and prevent data loss.
10.4 Managing Storage Capacity
Effectively manage your Nikon D50’s storage by checking card capacity and using larger cards for more storage. Use the camera’s file format settings (JPEG or RAW) to optimize space. Regularly transfer images to a computer to free up memory and ensure smooth camera operation during shoots.
Maintenance and Troubleshooting
Regularly clean the camera and lens to prevent damage. Update firmware for optimal performance. Troubleshoot common issues like error messages or sensor cleaning to ensure smooth operation.
11.1 Cleaning the Camera and Lens
Regular cleaning is essential for maintaining your Nikon D50’s performance. Use Nikon’s Lens Cleaning Kit or a soft, dry microfiber cloth to gently remove dust and smudges. Avoid harsh chemicals or abrasive materials that could damage the lens or camera surfaces. Clean regularly to ensure optimal image quality and longevity.
11;2 Updating Firmware
Update your Nikon D50’s firmware to ensure optimal performance and access to the latest features. Visit Nikon’s official website to check for updates. Download the firmware to a memory card, then follow the camera’s menu instructions to install; Always use a fully charged battery and avoid interruptions during the update process.
11.3 Common Issues and Solutions
Address common issues like memory card errors by formatting the card in the camera. For battery drain, ensure the battery is fully charged and avoid excessive use of the LCD. If autofocus malfunctions, clean the lens and sensor or reset settings to default. Refer to the manual for detailed troubleshooting guidance.
Mastering the Nikon D50 requires practice and exploration of its features. For further learning, visit Nikon’s official website or download the PDF manual for detailed guidance and troubleshooting tips.
12.1 Summary of Key Features
The Nikon D50 features a 6.1 MP DX-format CCD sensor, a 5-area autofocus system, and a 2.0-inch LCD monitor. It offers various shooting modes, including Auto, Scene, and Manual, along with customizable settings for ISO, white balance, and metering. Its compact design and intuitive controls make it ideal for both amateur and enthusiast photographers.
12.3 Where to Find More Information
12.2 Recommended Accessories
To enhance your Nikon D50 experience, consider these recommended accessories: additional AF-S Nikkor lenses for versatility, high-capacity memory cards for storage, a camera bag for protection, and a remote shutter release for reducing camera shake. A tripod is also ideal for stabilizing shots, especially in low-light conditions or for long exposures.